 A few months ago I discovered a new manifesto related to software development: the Software Gardening Manifesto. Even if the manifesto has been initiated in 2015 (by Papapetrou Patroklos), the concept of software gardening exists for several years, Jeff Atwood wrote about this topic seven years ago.
If you work in software development like I do, you certainly know the struggle when it comes to explain your work to non-technical persons. Using the metaphor of a garden can be a helpful metaphor. But software gardening is not only that, it is also values and principles. I like what I read in this manifesto and this is why I am creating this blog post.
Deep dive into the manifesto
So, what is the definition of a software gardener when we take a look at the manifesto?
Software Gardeners are professionals who perceive software development in a different way. Our goal is to spread the word of our core values, be mentors for the new developers and create software that it is developed at the highest quality bar.
As someone who values the principles of the software craftsmanship movement, I share this definition since it looks similar as the definition of a software craftsman.
To find the analogy with a garden, let’s have a look at the “beliefs” present in the manifesto.
We treat software systems as gardens and code as flowers. Although we don’t disagree regarding software as a “craft”, we believe that software is a living and breathing “being”, not just an object, created using the best materials.
The fact that systems and code are considered as living entities implies that they need attention over time. Your code gets updated to add feature or to fix bugs, the system changes over time to be improved, refactoring phases occur. It is likely that the project you work on is updated everyday even if it is already in production, of course depending on the context, some features are removed to make room for new ones.
We constantly mentor young developers and we share our knowledge at every opportunity. Junior developers are like flowers that need to be irrigated to blossom. We are the water, the sun, the soil, the fertilizer for every (young) software professional.
Software gardening is not only about taking care of the code but also a community where the more experienced developers help the younger ones by sharing their knowledge and skills (water, sun, soil and fertilizer). It is about creating a community which is a value shared also by the software craftsmanship manifesto.
Software development is a lot more than slinging code. We know the practices and we apply them effectively. We make use of the most productive tools and our skill-set includes both soft and technical skills. We also understand that our overall attitude is what defines us as software gardeners.
Creating software and growing a garden both require tools and skills. And it is definitely better to have the right tools for the job and knowing how to use them effectively. Having values is also important in order to provide the best work as possible.
We care about our code and this care, we show it continuously, day by day, every moment in every single line of code we write.
Code is like a flower, it is delicate and needs proper attention in order to flourish. A mistake can have painful repercussions later, do not water your plants and they will die, do not refactor your code when needed and you will have to deal with technical debt.
We are not only able to respond to change but we are prepared about the endless – internal and external – environment reform.
I find this one very interesting because of the notion of “environment”. Growing a garden does not always require the same tools and techniques, it depends on the context. Is your garden in a forest, a plain, a jungle or maybe a desert? You definitely need to adapt to the constraints of the environment you work in. And it is the same for a software project, do you work for a small company or a big one? Is there a lot of processes or not at all? Is your team made of 4 developers or 20? Is the project new or an old legacy system from 10 years ago.
You need to adapt to all of these variables and they might change over time, nothing is finite, everything evolves, remember that: “The only constant in this world is change”.
We treat customers as the people who will walk in our garden and smell our fragrant flowers. Having said that we engage them from the first day, to make sure that all their needs, requirements and expectations will be met.
Collaboration is essential for a software gardener, working closely with the customers is mandatory in order to create the best possible result. Understanding them is important to be able to have a beautiful garden years after years, during all seasons.
Conclusion
Software gardening is about commitment, quality, pride and love for the code and systems we work on. In ways it is similar to the software craftsmanship with an emphasis on the “living” part of the code and the analogy of the garden environment with the software environment.
Remember also that it is just a manifesto so you have to read between the lines in order to fully understand the values and principles behind this approach.
To me it is refreshing to see a new metaphor for our profession/passion/craft/art that is not related to classical engineering work. Which is, in my opinion, not always a good comparison for software development. I recommend you to read Chris Aitchison‘s article on software gardener: You are NOT a Software Engineer!
See you next time!
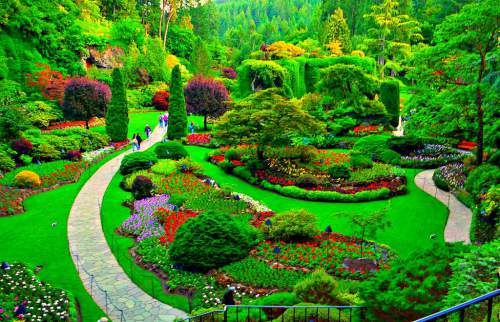
Image credits:
http://positivegardening.com/top-10-most-beautiful-gardens-around-the-world/